Seven tips for taking your own family portraits.
ok, I know I have a little bit of an advantage because this is my area of expertise but if you’re interested in trying it yourself, here are some things that might help!
#1: Use a tripod and remote
I’d recommend using a DSLR camera with a tripod! You are really limited when looking for something to set the camera down on or asking a passerby to snap a few. The KEY here is really the remote, all you do is keep clicking (2 second delay and works from 16 feet away an only $11). It is such a pain to have to keep running back and fourth when using the timer feature on the camera. I love these cheap and usefully remotes and tripods on amazon. Check them out here on my favorites list.


#2: Go somewhere where no-one will be
Pick an open field or your backyard, not a busy park. I say this for comfortability sake. You gotta be ok snapping pix for 20 minutes without being stared at and having people walk through your shot, unless you like that kind of thing… (yes, my hubs is a diehard Viks fan)
#3: Pick a sunny/partly sunny day about 1-2 hours before sunset
This is only an aesthetics opinion, I prefer this kind of light best, it gets that glow that’s wow-ing. The point is to get diffused soft light and this is most commonly the time for that (or at 6:30am but who wants to do that?).


#4 choose open shade
I do this when shooting my family or others. Open shade can be described as being in a shady area but when you look up, you still see the sky. This is a great way to determine a spot with brightness but not harsh light. The shade would most likely be coming from a leafy tree behind the subjects. It is especially important for the actual camera lens to be shaded. I use this technique often because I like to shoot backlit subjects (when the sun is behind them) which you can do too in open shade!
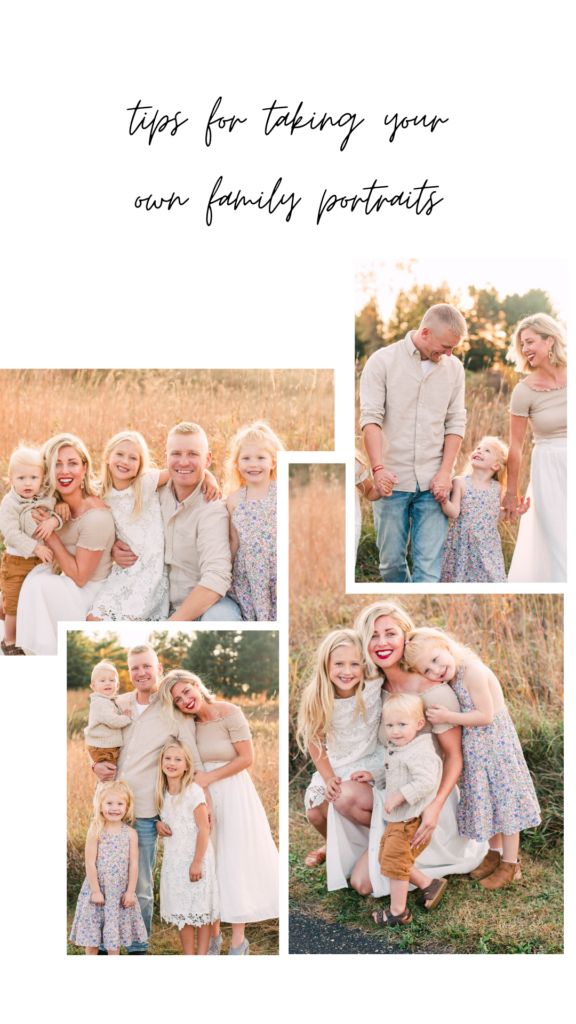
#5: Get reeeeeally close to each other
Again, another thing I encourage during ANY shoot. Being in each others bubble looks SO MUCH better, at least when I comes to family photos. When you think you’re close enough, squeeze in a little tighter! There should be a lot of touching going on, heads leaning, cheeks connecting, hands on people…all the things that 2020 tells you not to do.


#6: Try movement poses
One of my favorite “poses” is the “hold hands and do a slow walk toward the camera”, you can do this too! I have clients look at each other tho, not the lens during this pose. I also have people gather close, then peel away from each other a few steps, then on the count of 3, move back together to their starting pose. What this does is make a more effortless, casual and relaxed “pose”, moving just does that to people. Try it!


